Jujutsu Beatdown PvE Characters for Waves and Bosses
Pick your PvE fighter around what your run needs most in Jujutsu Beatdown. Wide attacks clear clustered enemies, while a close-range kit pays off if you can get in and land hits during short boss openings.
Choose The Honored One for Blue and Red wave clearing, Cursed Fist for close-range boss damage, and Disaster Flame when your team needs more area coverage. Solo players can interrupt boss moves. In parties of two or more, bosses have armor throughout every move, so attack between moves.
Wave Clearing and Boss Damage Picks
| Fighter | Best use | Key moves |
|---|---|---|
| The Honored One | Clustered waves | Lapse Blue, Red Reversal, Maximum Blue |
| Cursed Fist | Close boss openings | M1s, Soul Shrine, True Potential |
| Disaster Flame | Extra team area coverage | Fire attacks, Meteor Rain |
- The Honored One is the pick when you want to hit several enemies with the same cast. Aim Lapse Blue and Red Reversal at groups, and use Maximum Blue for area pressure once awakened. If your party already has a strong melee fighter, let them handle isolated targets while you aim for clusters.
- Cursed Fist fits a player who can get into basic attack range and leave before the boss retaliates. Start with M1s when you get close, then use Soul Shrine and True Potential when you have the awakened kit. In co-op, let a teammate with wider attacks handle enemy packs while you look for a clear approach to the boss.
- Disaster Flame gives the team another way to pressure groups while allies are fighting up close. In Awakening, Meteor Rain leaves fire tornadoes at its impact points. Aim it where enemies are grouped so the landing areas cover more of the pack.
Find these fighters and their movesets in the Jujutsu Beatdown character list.
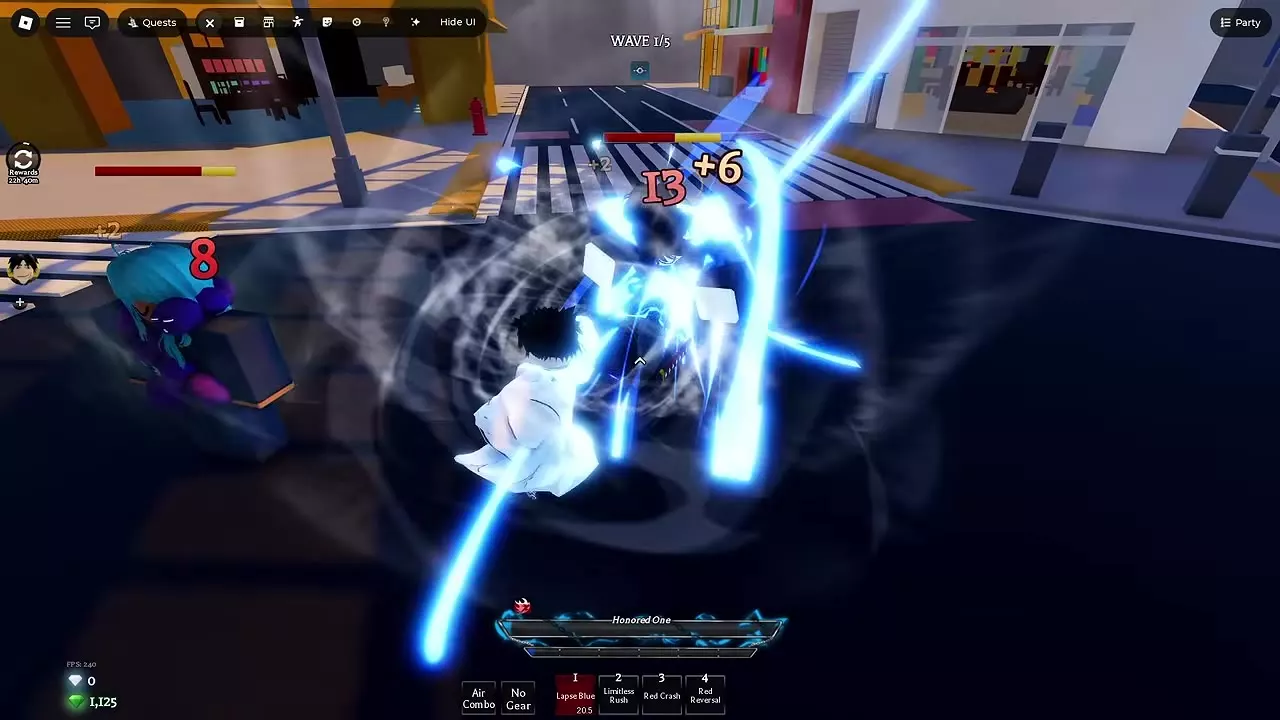
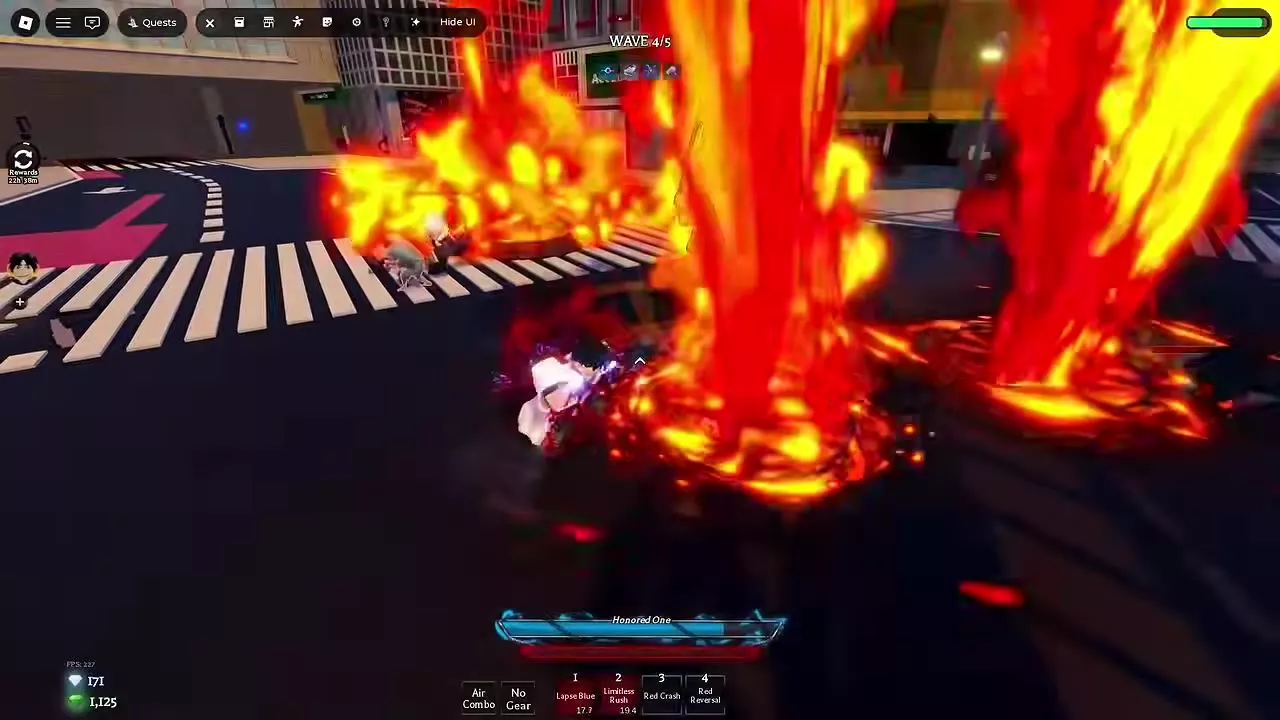
Match the Fighter to the Party and Card Offers
Solo, look for chances to interrupt the boss with a hit. With two or more players, the boss has armor throughout every move. Let the attack finish, then move in together while the boss is between moves. Leave room to disengage before the next windup. Against Eso in Special Grade Threat, move out of his attacks because they bypass block. PvE boss encounters and counters
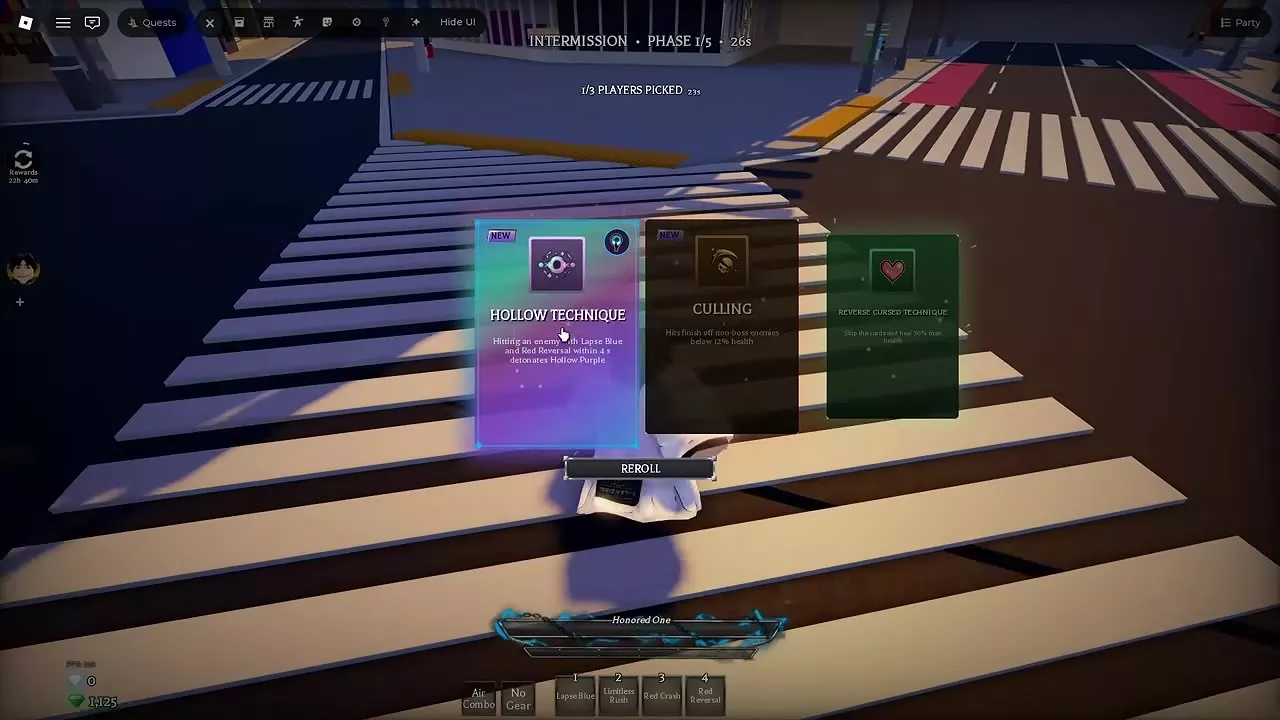
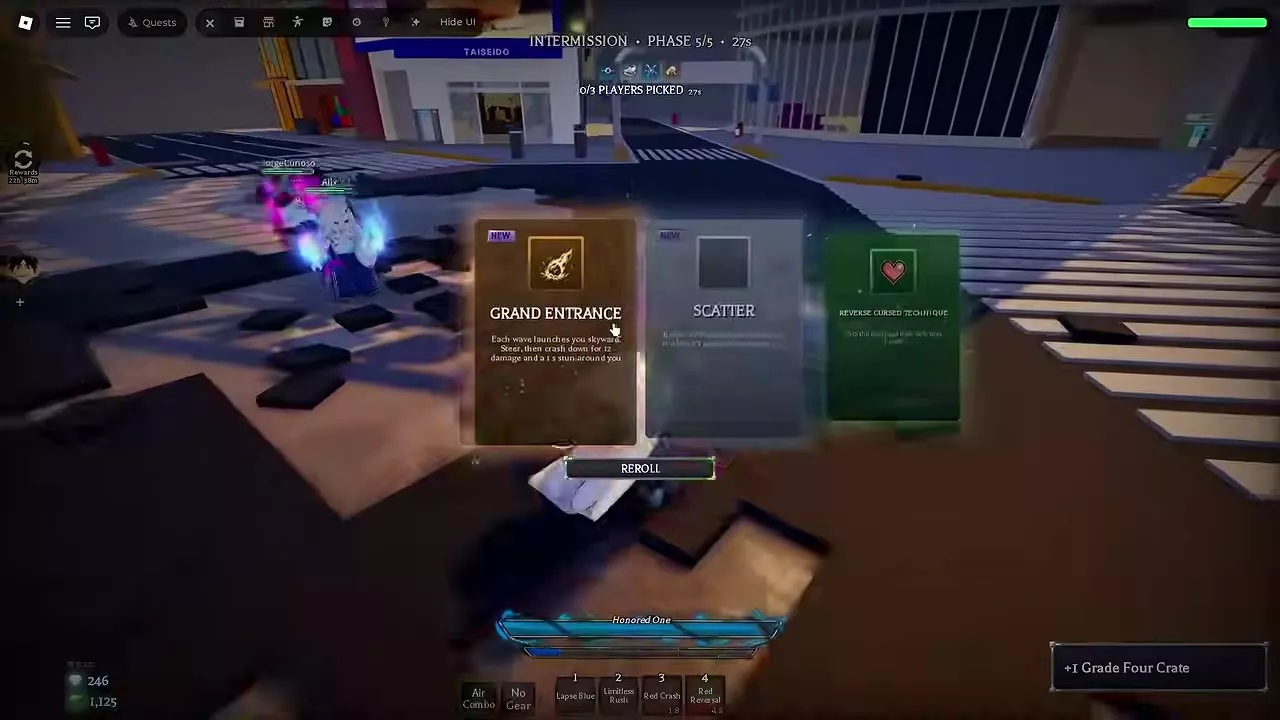
Choose from the three cards at the timed intermission before the first wave and at later breaks. Some offers depend on your current moveset, so pick effects you can trigger with the attacks you already use.
- Hollow Technique is The Honored One's combo pick. Land Lapse Blue and Red Reversal on the same enemy within four seconds to detonate Hollow Purple. Aim for an enemy in the pack so the detonation can catch the group.
- Maximum Output: Red boosts Red Reversal's range and width by 50% each. Take it when enemies are spread out or when you want an easier Red hit to complete Hollow Technique.
- Grand Entrance adds area damage and stun at the start of each wave. Steer your descent toward a group so your landing gives nearby teammates a chance to follow up.
- Possession lets you ride a teammate. Choose your host within the 10-second window. Pick a teammate whose positioning fits where you want to fight, and choose again when the picker returns after you lose that host.
- Breathing Room fits a melee player who can finish M1 combos. Each landed finisher restores 2% of your maximum health. If you need health before the next wave, Reverse Cursed Technique trades the augment pick for an immediate heal.
Challenge and HARDCORE disable revives and pickups, so favor reliable damage or card-based healing in those modes. PvE difficulty and revive rules
Look up PvE augments and their effects.
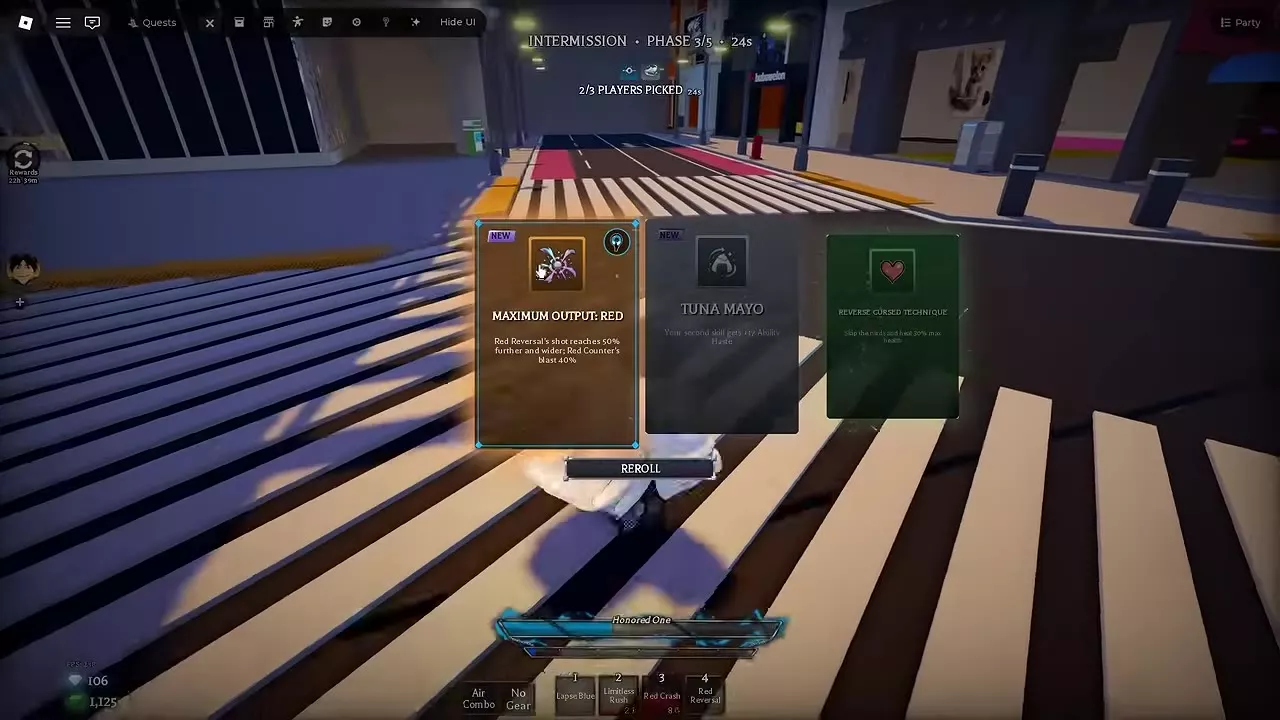
Example Setups for Alien Sorcerer Invasion
| Setup | Party | Waves | Rating | Clear time |
|---|---|---|---|---|
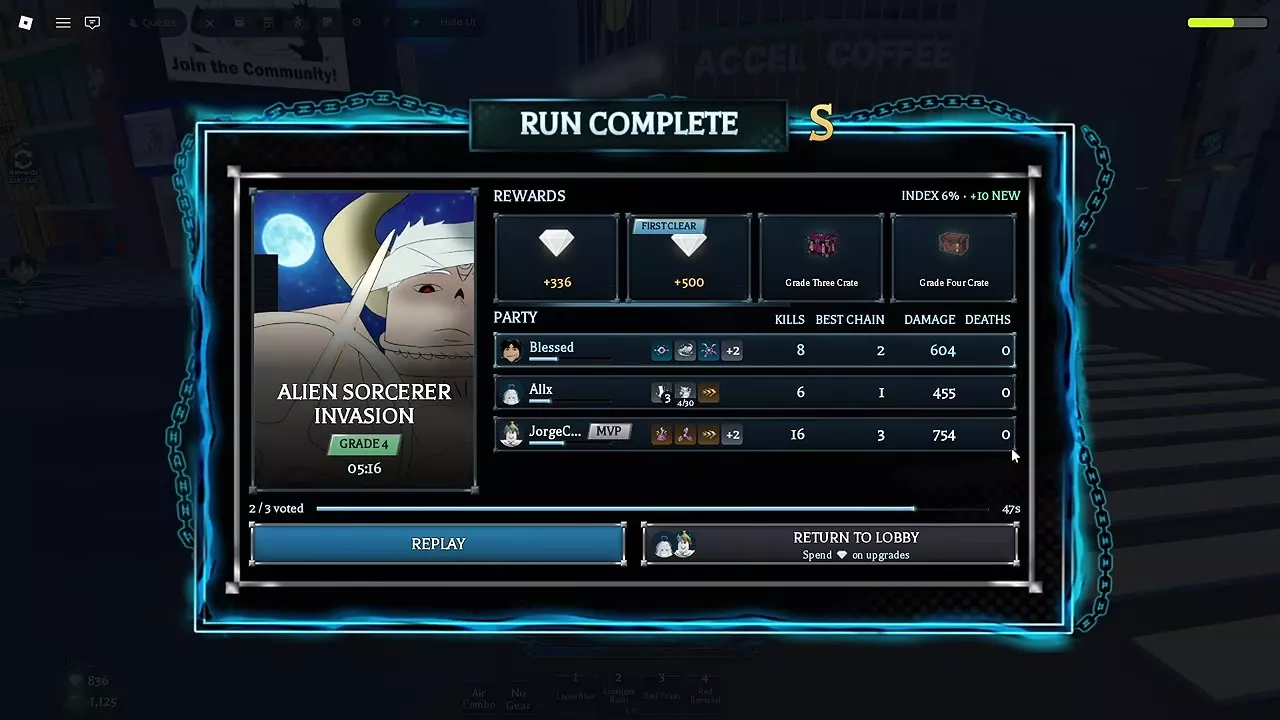
| Grade 4 with The Honored One | 3 players | 5 | S | 5:16 |
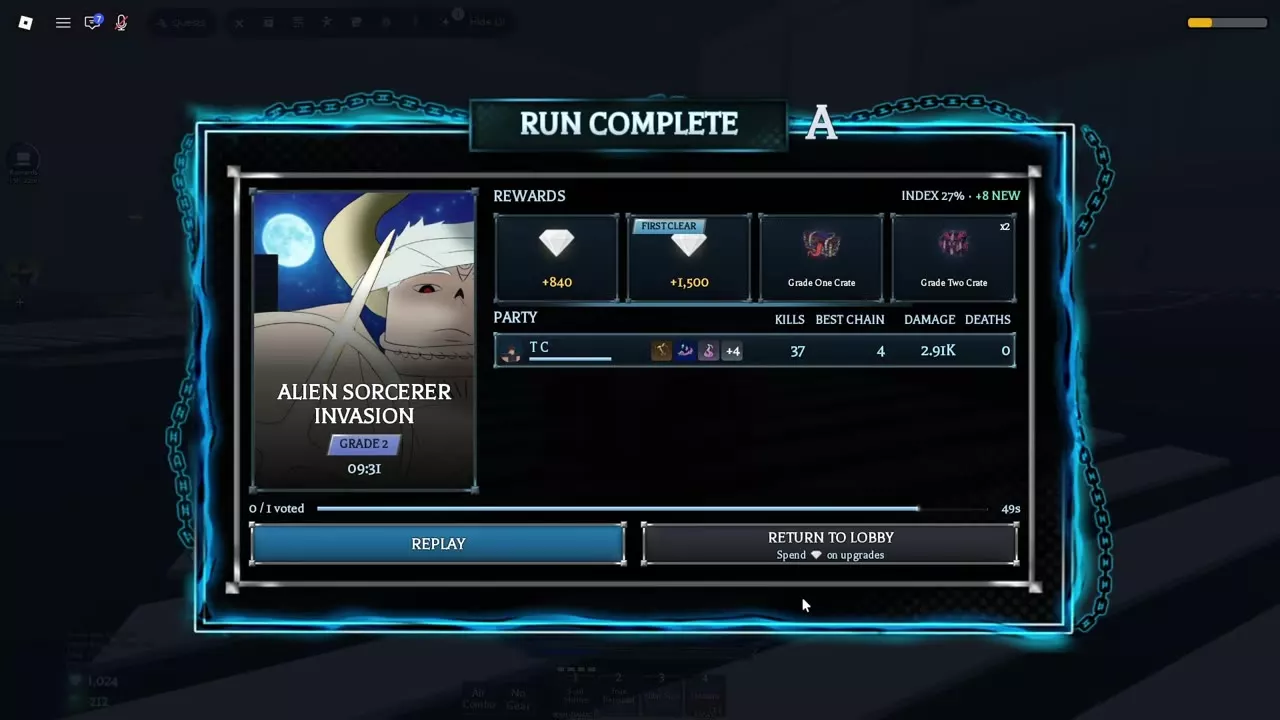
| Grade 2 with Cursed Fist | Solo | 7 | A | 9:31 |
Grade 4 team with The Honored One
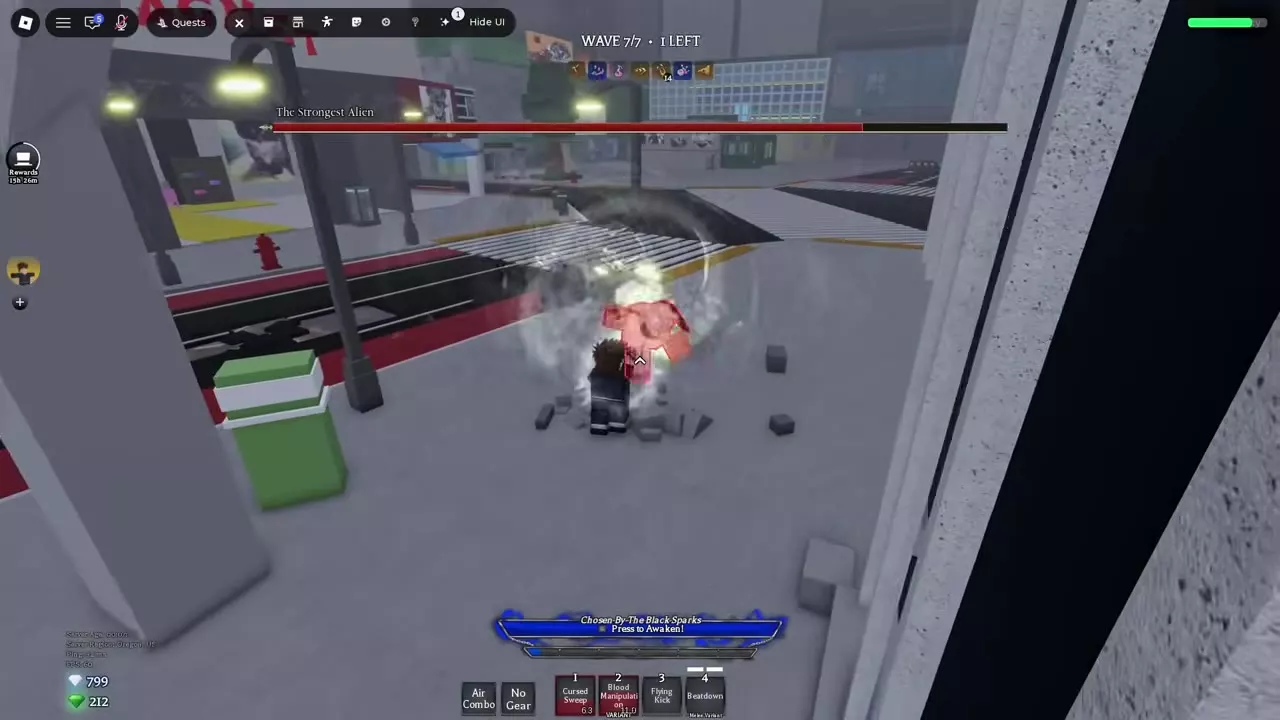
The Honored One took Hollow Technique at the opening intermission and Maximum Output: Red after Wave 2. Breathing Room provided a way to recover on M1 finishers, Little Brother added a small Kechizu companion for the rest of the run, and Grand Entrance was the final intermission pick. A Disaster Flame teammate added fire coverage on Wave 4.
Use Blue and Red where you can catch several enemies, then turn your attention to The Strongest Alien once the other enemies are down. When the boss powers up into his golden second form, keep using team openings and give yourself room to back out after attacking.
Grade 2 solo with Cursed Fist
- Use Hairpin for the packs if it comes up. The solo clear opened with Hairpin and picked Soul Cleave at the next intermission. With Hairpin, land a combo finisher near a group to plant a nail in your target and up to two nearby enemies. Land your next skill hit to detonate the nails.
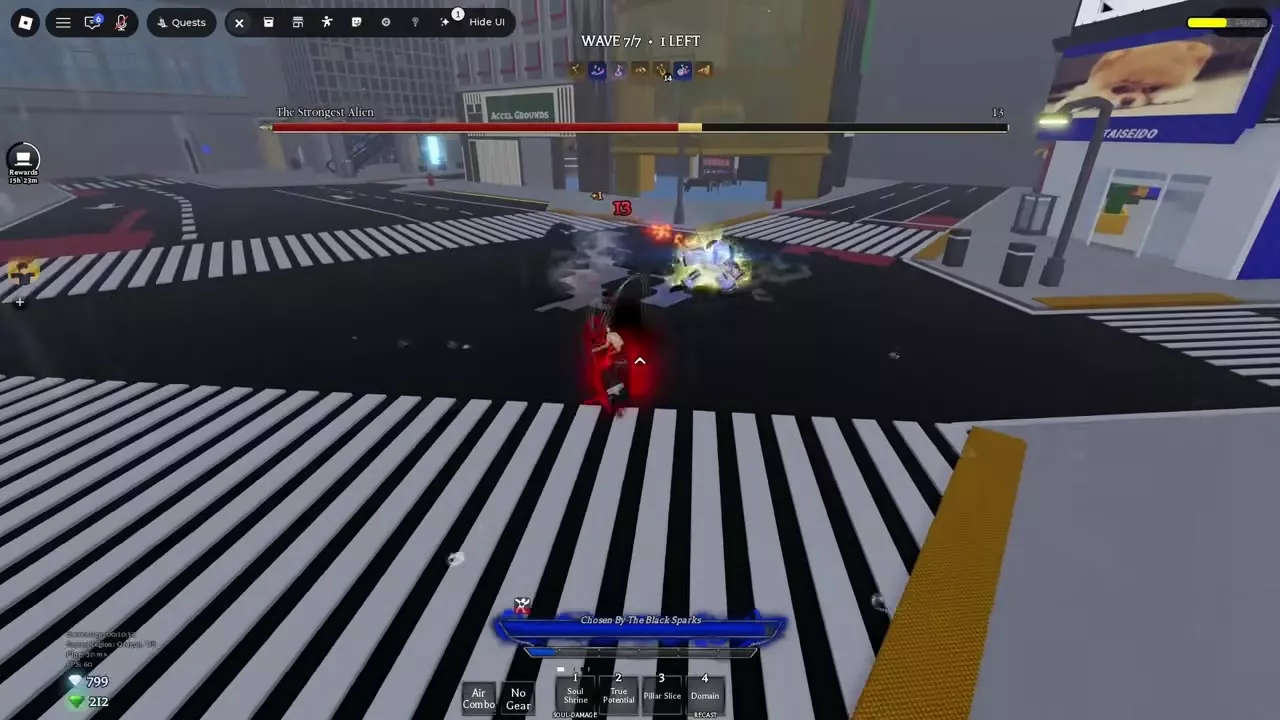
- Let The Strongest Alien come into M1 range. Land a short string when you get an opening and back away when he winds up a heavy attack. Keep your approach short in the golden second form, where lingering in melee exposes you to a damaging close-range sequence.
- Land the Awakening strike before committing to the follow-up. When Chosen By The Black Sparks is ready, press G on PC during a close opening. The activation needs to hit. A successful hit starts the cutscene and swaps your hotbar, giving you Soul Shrine and True Potential for later openings. A miss uses a small portion of your Awakening meter.
- Save Domain for a clear opening and keep taking short punishes if it misses. The Grade 2 clear had no healing from the Awakening activation, and the Domain missed. Cursed Fist finished the fight with close-range hits and cleared with zero deaths.
Follow the full Alien Sorcerer Invasion walkthrough.