Jujutsu Beatdown Air Combos and Downslam Routes
Turn a close-range hit into an air chase, or use a downslam to set up a grounded follow-up. The next move depends on your fighter’s hotbar, the target’s height, and whether they still have an evasive.
Land a close-range hit, then launch with an uppercut or a character move such as Flying Kick. If the target stays airborne and in reach, jump and press forward + Q on PC to chase, then use your aerial follow-up. To downslam, jump during the melee string and press M1. Follow a confirmed knockdown with a move that can hit a downed opponent, such as Piercing Blood or Red Crash with Red Focus III enabled.
Launch, Chase and Finish
- Confirm a hit at close range. Once your opening M1 connects, use an uppercut or land a character move that lifts the target.
- Chase the launch. If the opponent stays in the air, face their path, jump, and press forward + Q on the default PC controls. Close the gap before casting the follow-up.
- Pick the ender by height. Use the aerial move on your hotbar while the target is still in range. To bring them down, jump during your melee sequence and press M1 for a downslam. Once they hit the ground, use a move that connects on a downed target. A downslam does not open the standard uppercut follow-up.
Check Your Hotbar and the Target's Evasive
V2 gives each fighter a character-specific Air Combo and replaces the old double jump with Geppo. Check your hotbar before committing. Cursed Energy can swap a base move for a variant, a skill-tree node can change what a slot does, and Heavenbound’s weapon and airborne state affect which follow-up is available.
Try to draw out the opponent’s evasive with a short exchange before spending your launcher and follow-up together. A defender with an evasive ready can cancel eligible launches or knockdowns. V2 increased the ragdoll-cancel cooldown, so a defender who just spent it gives you a better opening for a longer string. In a crowded fight, favor a short route if another player is close enough to knock you out of the chase. For how to escape and defend on recovery, see Combat Basics.
Ground Launches and Air Follow-Ups
Cursed Fist (Yuji)
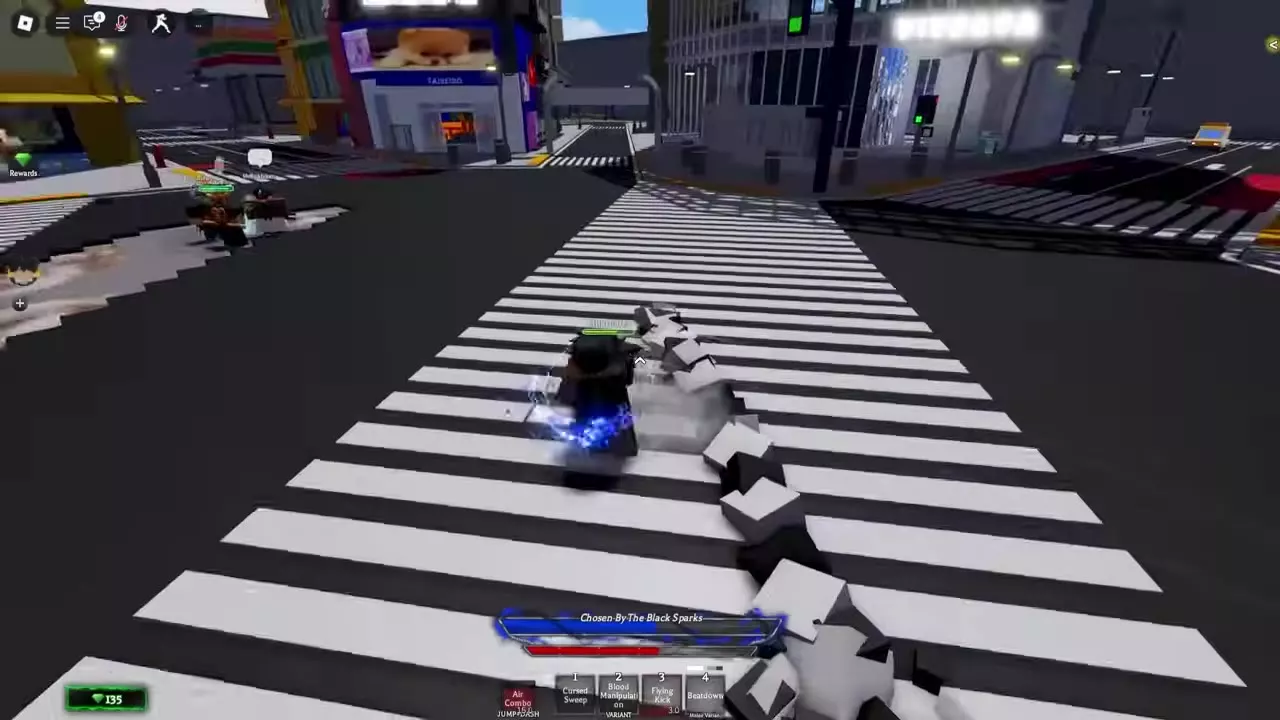
- Flying Kick → Blood Manipulation. Land Flying Kick in slot 3 to lift both fighters. If the target stays airborne, jump and forward-dash into range, use Blood Manipulation in slot 2, then dash again if the target is still close enough to pursue. An evasive can break the blood pull.
- Flying Kick → Cursed Sweep. Press slot 1 while the Air Combo is active and the hotbar still reads Cursed Sweep. Its aerial variant grabs the opponent’s legs and slams them down. With Returning Sweep enabled, the sweep bounces the target back into the air for another follow-up.
- True Potential → Pillar Slice. During Chosen By The Black Sparks, land True Potential in slot 2 and aim Pillar Slice in slot 3 along the target’s path. With Divergent Finish enabled, True Potential’s delayed impact brings the target back to standing and staggers them. See the Cursed Fist skill tree for the node choices.
The Honored One (Gojo)
- Limitless Ascent → air attacks. Enable Limitless Ascent I for the upward Limitless Rush variant. Launch with it and start attacking immediately. Limitless Ascent II adds the aerial recast.
- Air Combo launch → Lapse Blue. Cast Lapse Blue immediately after the launch to keep the target in reach under the V2 follow-up rules. From a grounded Limitless Rush, jump immediately to take the aerial opening or front-dash after the knockback to keep chasing on the ground.
- Other node setups. With Unbound Red, jump and use Air Red directly. With Red Ender, launch after your third hit for a higher launch and finish with Red. With Blue Focus, Lapse Pull leaves the target available for another hit by removing its ground slam.
- Pre-V2 Blue → Red. Land your own Lapse Blue and use Red Reversal while that same target is still ragdolled. The follow-up teleports you to them, including during an air combo, and fails if they have already used an evasive. The April 2026 Cursed Energy Red variant cannot hit a ragdolled target.
Shadow Prodigy (Megumi)
- Airborne Nue → Shikigami Slam. Use Nue in slot 2 once you are airborne near the target. Follow their position and use slot 3 Shikigami Slam when they come back into range. Use the slam’s guard break if they land and block.
- V2 melee extensions. Use Nue Snatch during or immediately after an M1. Draw Shadow Blade if you want to continue with basic attacks.
- Classic shikigami routes. On the ground, follow Rabbit Escape with Totality’s bite. The target can still use an evasive on the Rabbit Escape recast after an Air Counter. For the vertical Frog follow-up, double-jump or get above the frog so its debris fires upward if the first attack misses. Face the intended direction when aiming Toad. A target caught by it cannot counter out of the hit.
The King of Curses (Sukuna)
With Dismantle Barrage available in the V2 True Strength setup, launch the target at close range and use the Barrage in slot 1 while they are still airborne. Cast while you are close enough to continue the air string.
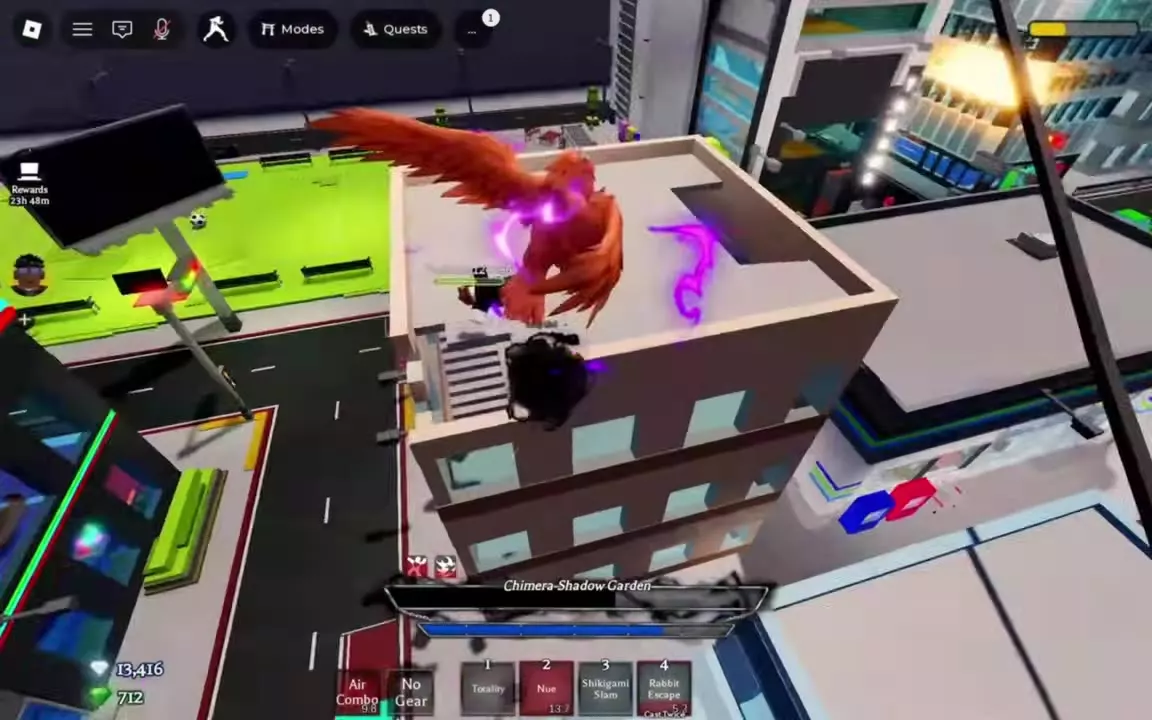
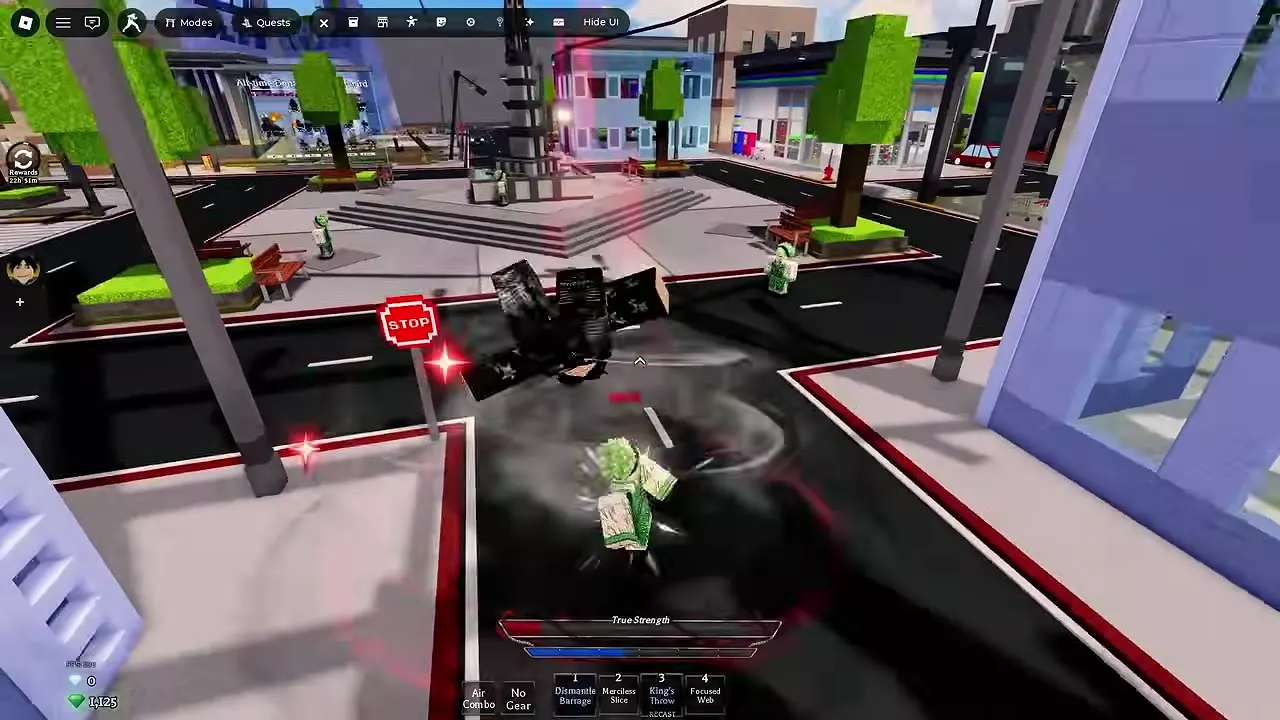
Downslam and Weapon Routes
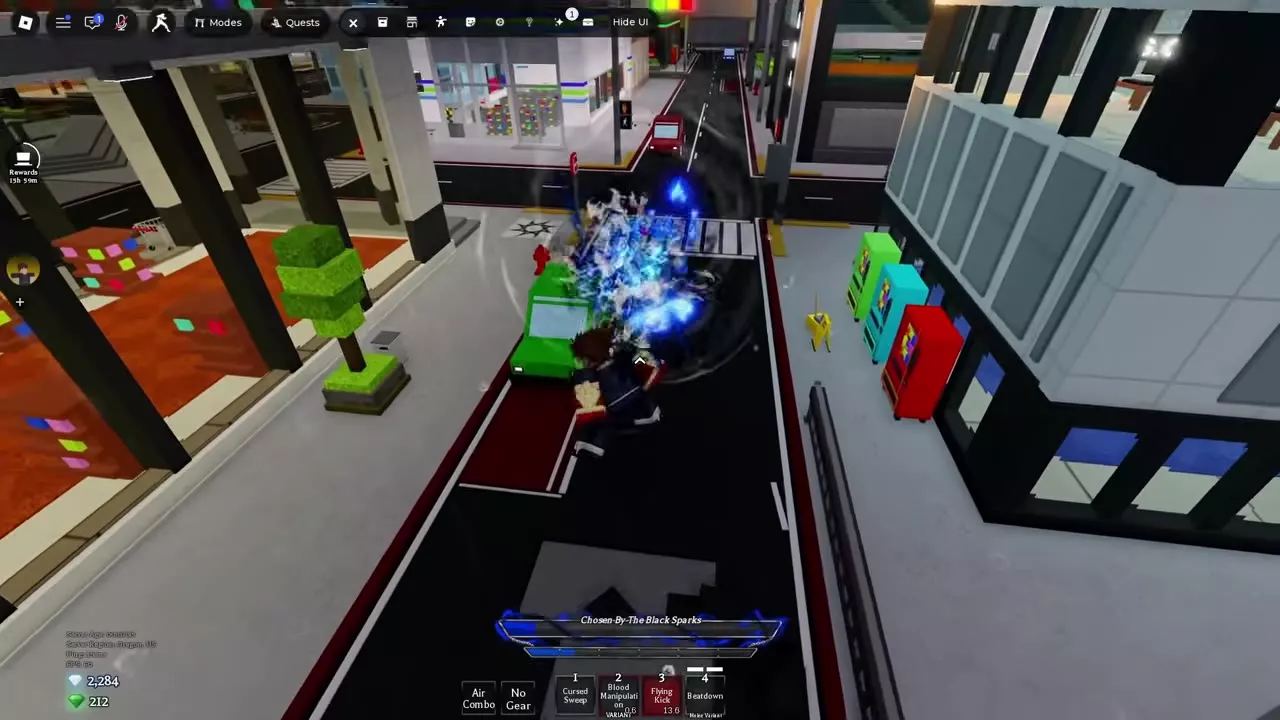
Cursed Fist downslam into Piercing Blood
- Activate Cursed Energy with E on PC and make sure you can pay the cost displayed for Piercing Blood in slot 2. The base requirement is 3 bars.
- Stay close, jump during your M1 chain, and press M1 to downslam.
- Confirm the knockdown, then fire Piercing Blood while the target is down. The beam hits a ragdolled target without knocking them farther away. If they get up and guard, the beam is blockable.
For a further chase, follow a connecting slot 2 attack with a downward dash, or use Beatdown if the target is still in range. Read the move name before pressing 2. The base hotbar gives you Blood Manipulation, while the Cursed Energy hotbar gives you Piercing Blood. See Cursed Energy and Black Flash for how to switch and spend energy.
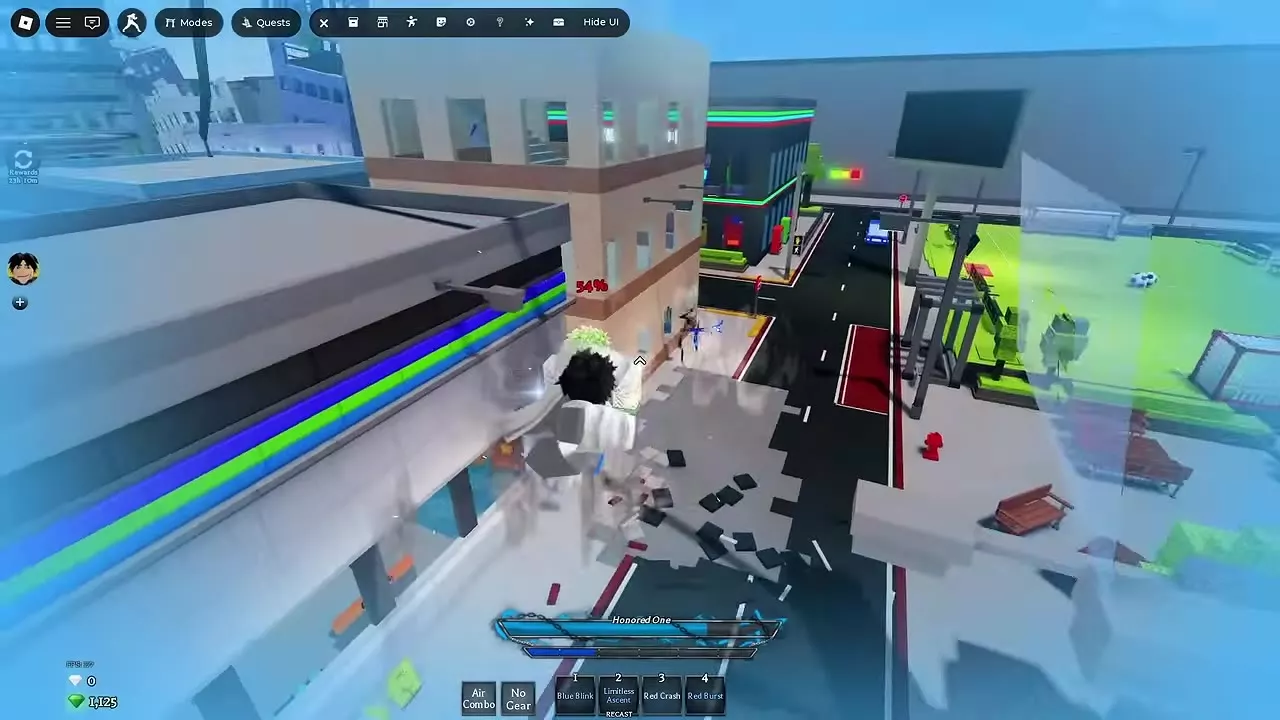
Gojo downslam into Red Focus III
- Enable the Red Focus branch through III. Red Crash replaces Red Counter in slot 3, and tier III lets it hit a downed opponent.
- Land close-range hits and downslam. Cast Red Crash on the target while they are still down.
- Use Red Burst in slot 4 as the target lifts, then continue attacking in the air if they stay in reach.
Choose this route to turn a landed knockdown into a second launch. For branch requirements and other loadouts, see the Gojo Red Focus build guide.
Heavenbound (Toji) grab, recast, and chase
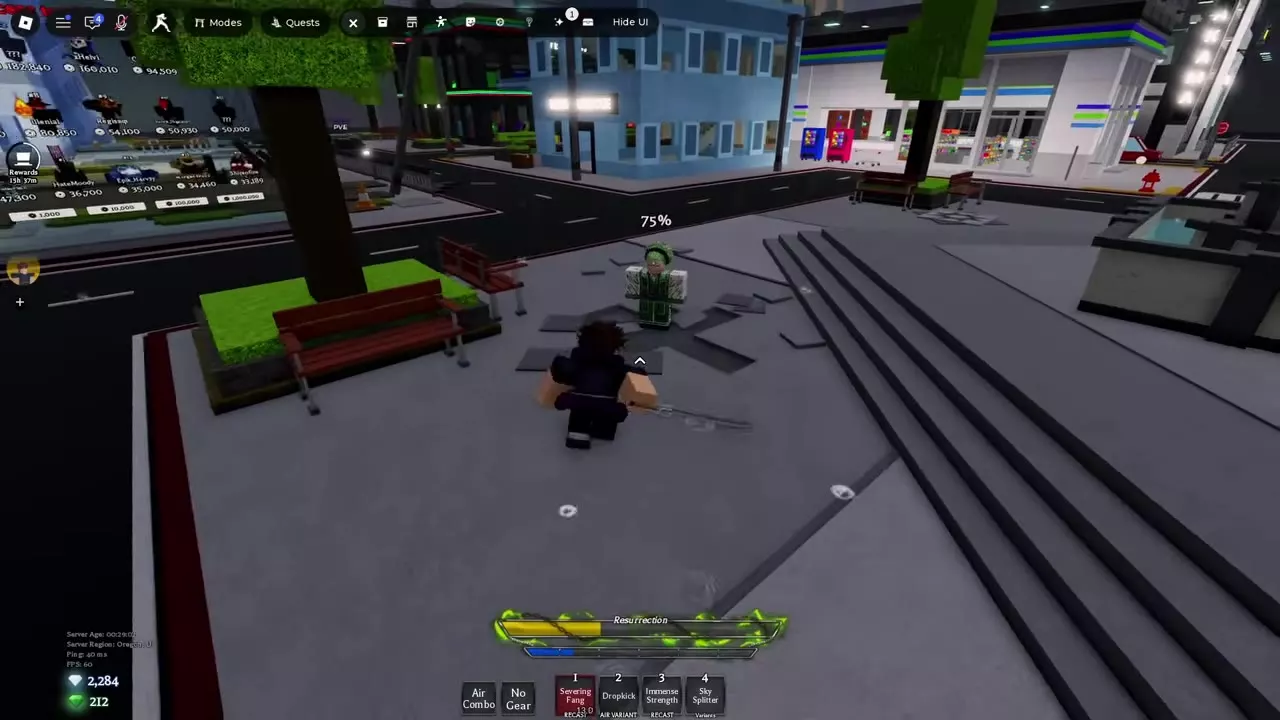
- Get within grab range and land Severing Fang in slot 1.
- Recast it for the katana strike that launches the opponent away and equips Swift Katana in V2.
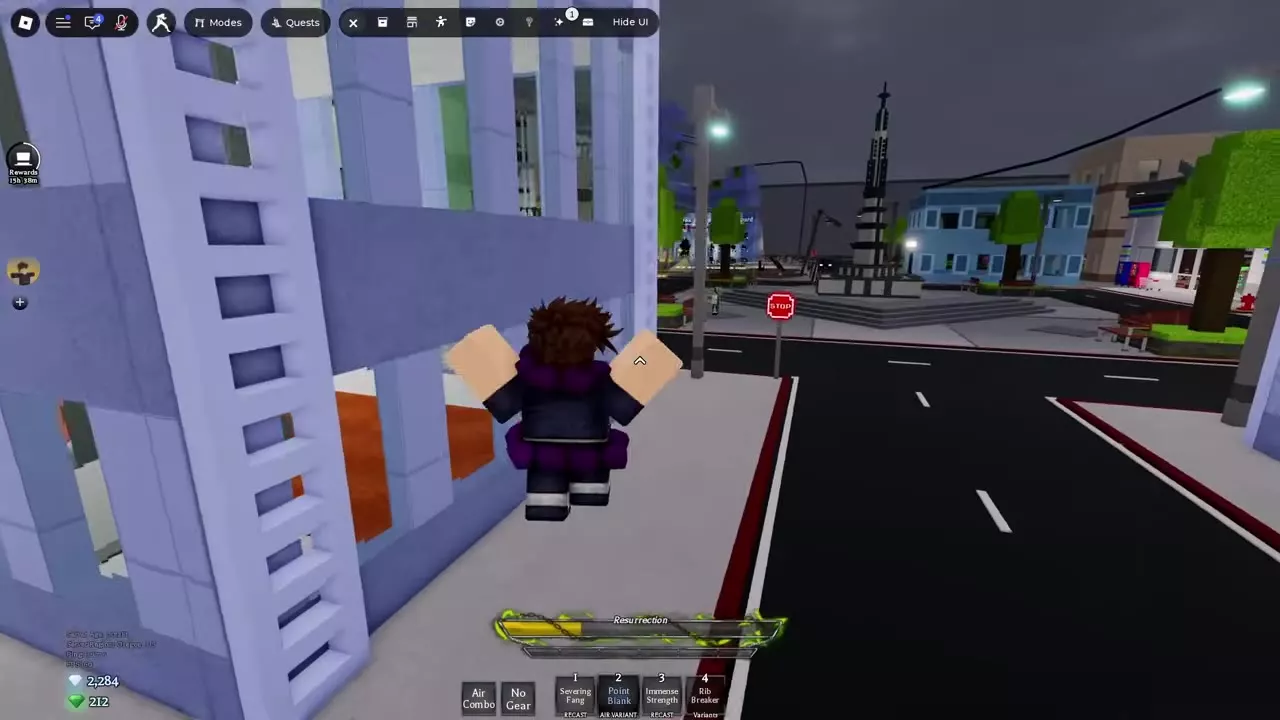
- Chase their landing spot and use the moves available with the weapon you now hold. In the V2 Fists setup, slot 2 reads Point Blank in the air and switches back to Dropkick on landing.
In the pre-V2 kit, uppercut first, then use slot 2 while airborne for the auto-aiming Dropkick. A jump counts as airborne. A hit clears the existing ragdoll and applies Dropkick’s own knockback, so chase where that kick sends the target. The pre-V2 awakened Fists setup also had a slot 4 dash that started an Air Combo on contact. With the old weapon setup, Sky Splitter lifted the main target and Silent Armory could extend the aerial sequence when slot 4 was ready. See Heavenbound’s weapon moves.
Authentic Love (Yuta) legacy routes
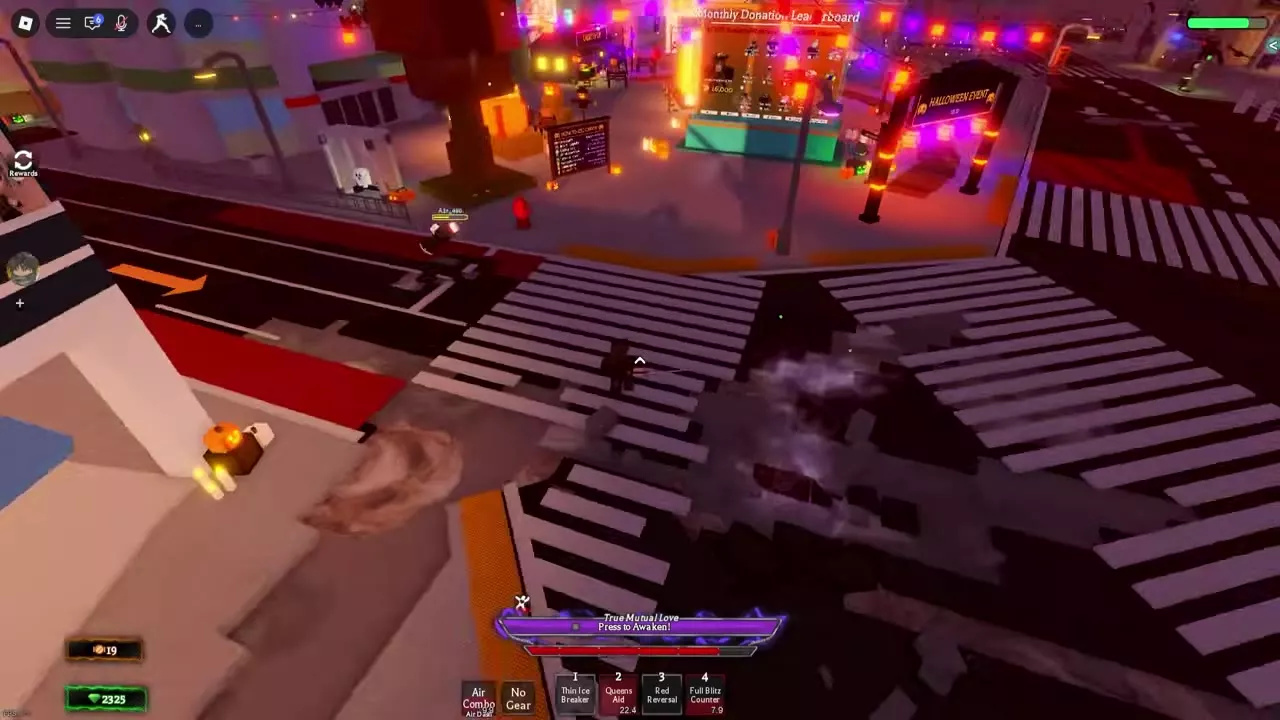
Authentic Love is temporarily disabled during its V2 rework. In the pre-V2 kit, land the first hit of Thin Ice Breaker and uppercut from close range. Under the March 2026 rules, Thin Ice Breaker can be guarded from any direction. To close a gap, activate Cursed Energy and use Love Burst in slot 4. Its forward dash has hyperarmor, and the final hit launches the target for an uppercut. Use Queen’s Aid during an active Air Combo for its aerial variant.
For the copied-Red route, first land Copy and load Red Reversal into slot 3. Then use downslam → Queen’s Aid (2) → Red Reversal (3). The two follow-ups have separate cooldowns, and the defender can use a ragdoll evasive to escape Queen’s Aid. If you get another close opening with the target still in range, you can end it with another downslam. See Authentic Love’s pre-V2 moves.
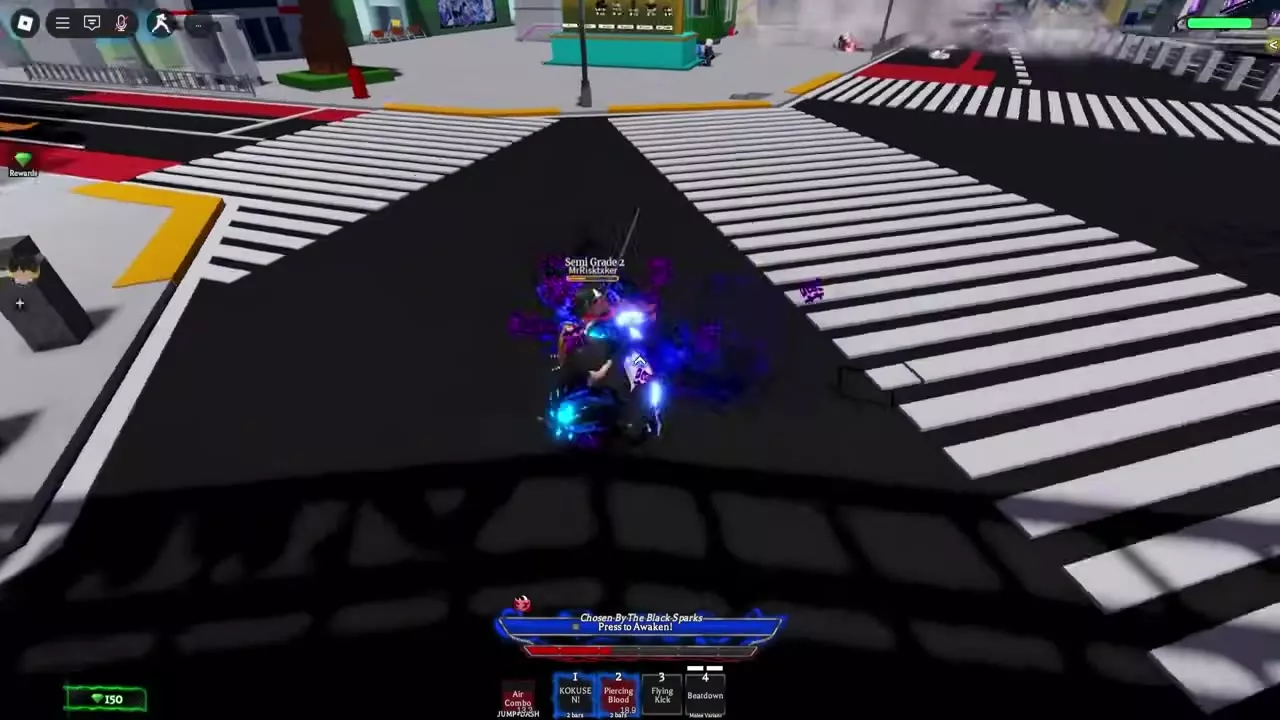
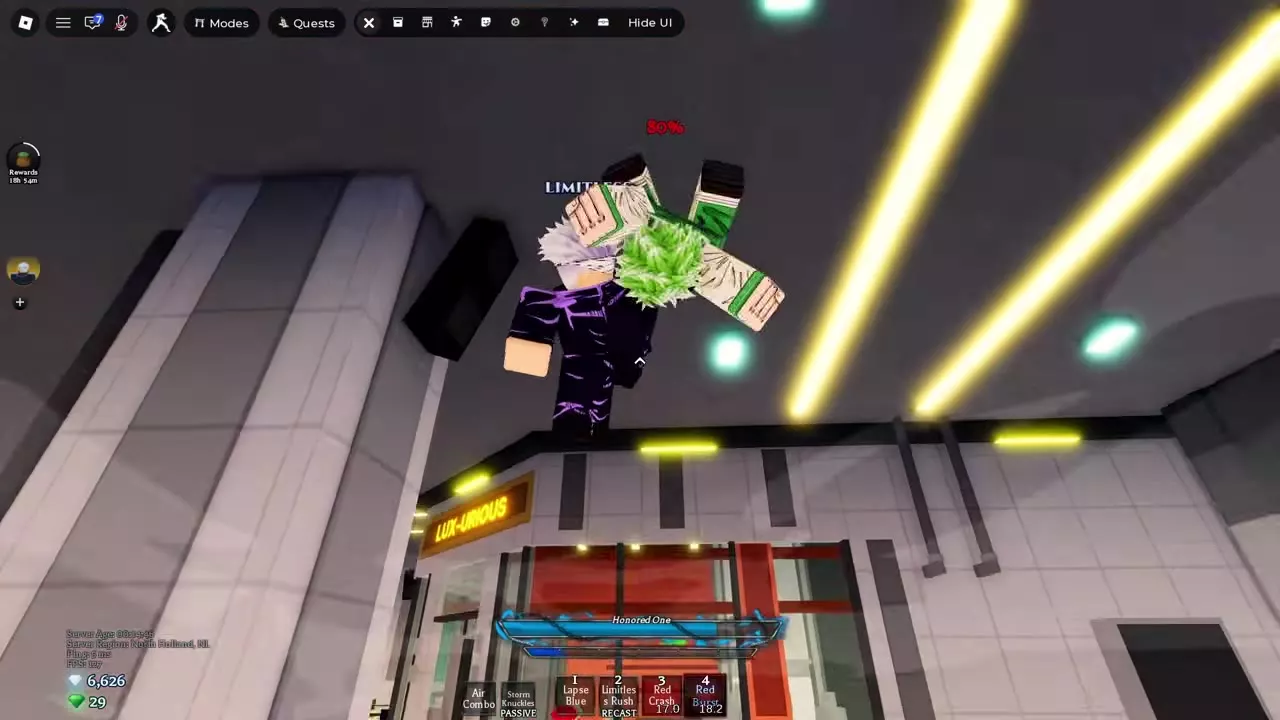
Dropped Follow-Ups
- They escaped or you were knocked down. Stop the string once the opponent uses an evasive or another player knocks you out of the air. If you use your own evasive, turn back toward the attacker before trying to block. Against a defensive opponent as Cursed Fist, angle behind them and use a Black Flash to draw the evasive. Once they spend it and you land a fresh hit, use an uppercut into Flying Kick.
- The target moved out of range. Track where the knockback sends them and close the distance before spending the follow-up. If they already landed, use a move that fits their grounded state. In the December 2025 Heavenbound kit, Coiling Dragon drops its knockback ragdoll frames on a wall hit, so expect earlier recovery at the wall.
- Beatdown sent the fight to the ground. Under the April 2026 balance, use regular melee Beatdown for an uppercut setup. After the Black Flash version, pursue on the ground.
- Your downslam missed. Recover and reconnect from melee range before trying the grounded follow-up. The April 24, 2026 balance shortened recovery on a missed downslam.